Light Christmas Cake

20 June 2020

Prep time: 3 hours

Cook time: 2 hours

Serves: enough for 10-12 large slices

Now, I have to say, it’s beginning to look a lot like Christmas around here! This year, it’s taken a long time for the festive feeling to reach our house – despite the deluge of Christmas adverts that have been on TV for months, and the length of time that the stores have been promoting the big day, it’s only now that it’s sinking in.

I feel I should apologise that it’s taken so long to get this recipe uploaded (or anything on this blog for that matter), but it’s been a hectic few weeks that have involved my birthday, family visits, flooding and quite a lot of cake preparation. With three cakes to bake and decorate in all, I’ve had to do the Christmas cakes in shifts this year, which has taken several weekends, so I’ve only just finished myself. Handily, my version of a Christmas cake is well suited to last-minute baking!

This recipe originated from BBC Good Food magazine in 2004, and I’ve been baking it every year since, albeit with a couple of tweaks. If you’ve had a read of the Love Christmas magazine, you’ll be aware that I’m not a huge fan of the traditional fruitcake, so I like to have a few alternatives up my culinary sleeve. This cake is based on an American recipe from the 1950s and is much lighter, without compromising on fruitiness. I’ve swapped some of the currants from the original for juicy sultanas, and have altered the cherry mix slightly as the packet mix specified is no longer available.

The muscovado sugar gives the cake a nice toffee flavour, and even though I can’t stand glace cherries normally when combined with the cranberries, dried sour cherries and apricots, they have a nice sticky texture to them that helps keep the cake moist (I much prefer the natural coloured ones to the Rudolph-nose-red ones though). The moistness of the fruit, also means the cake doesn’t need to be fed with booze, so it can be made much closer to Christmas, and is great for kids or those who abstain from alcohol.

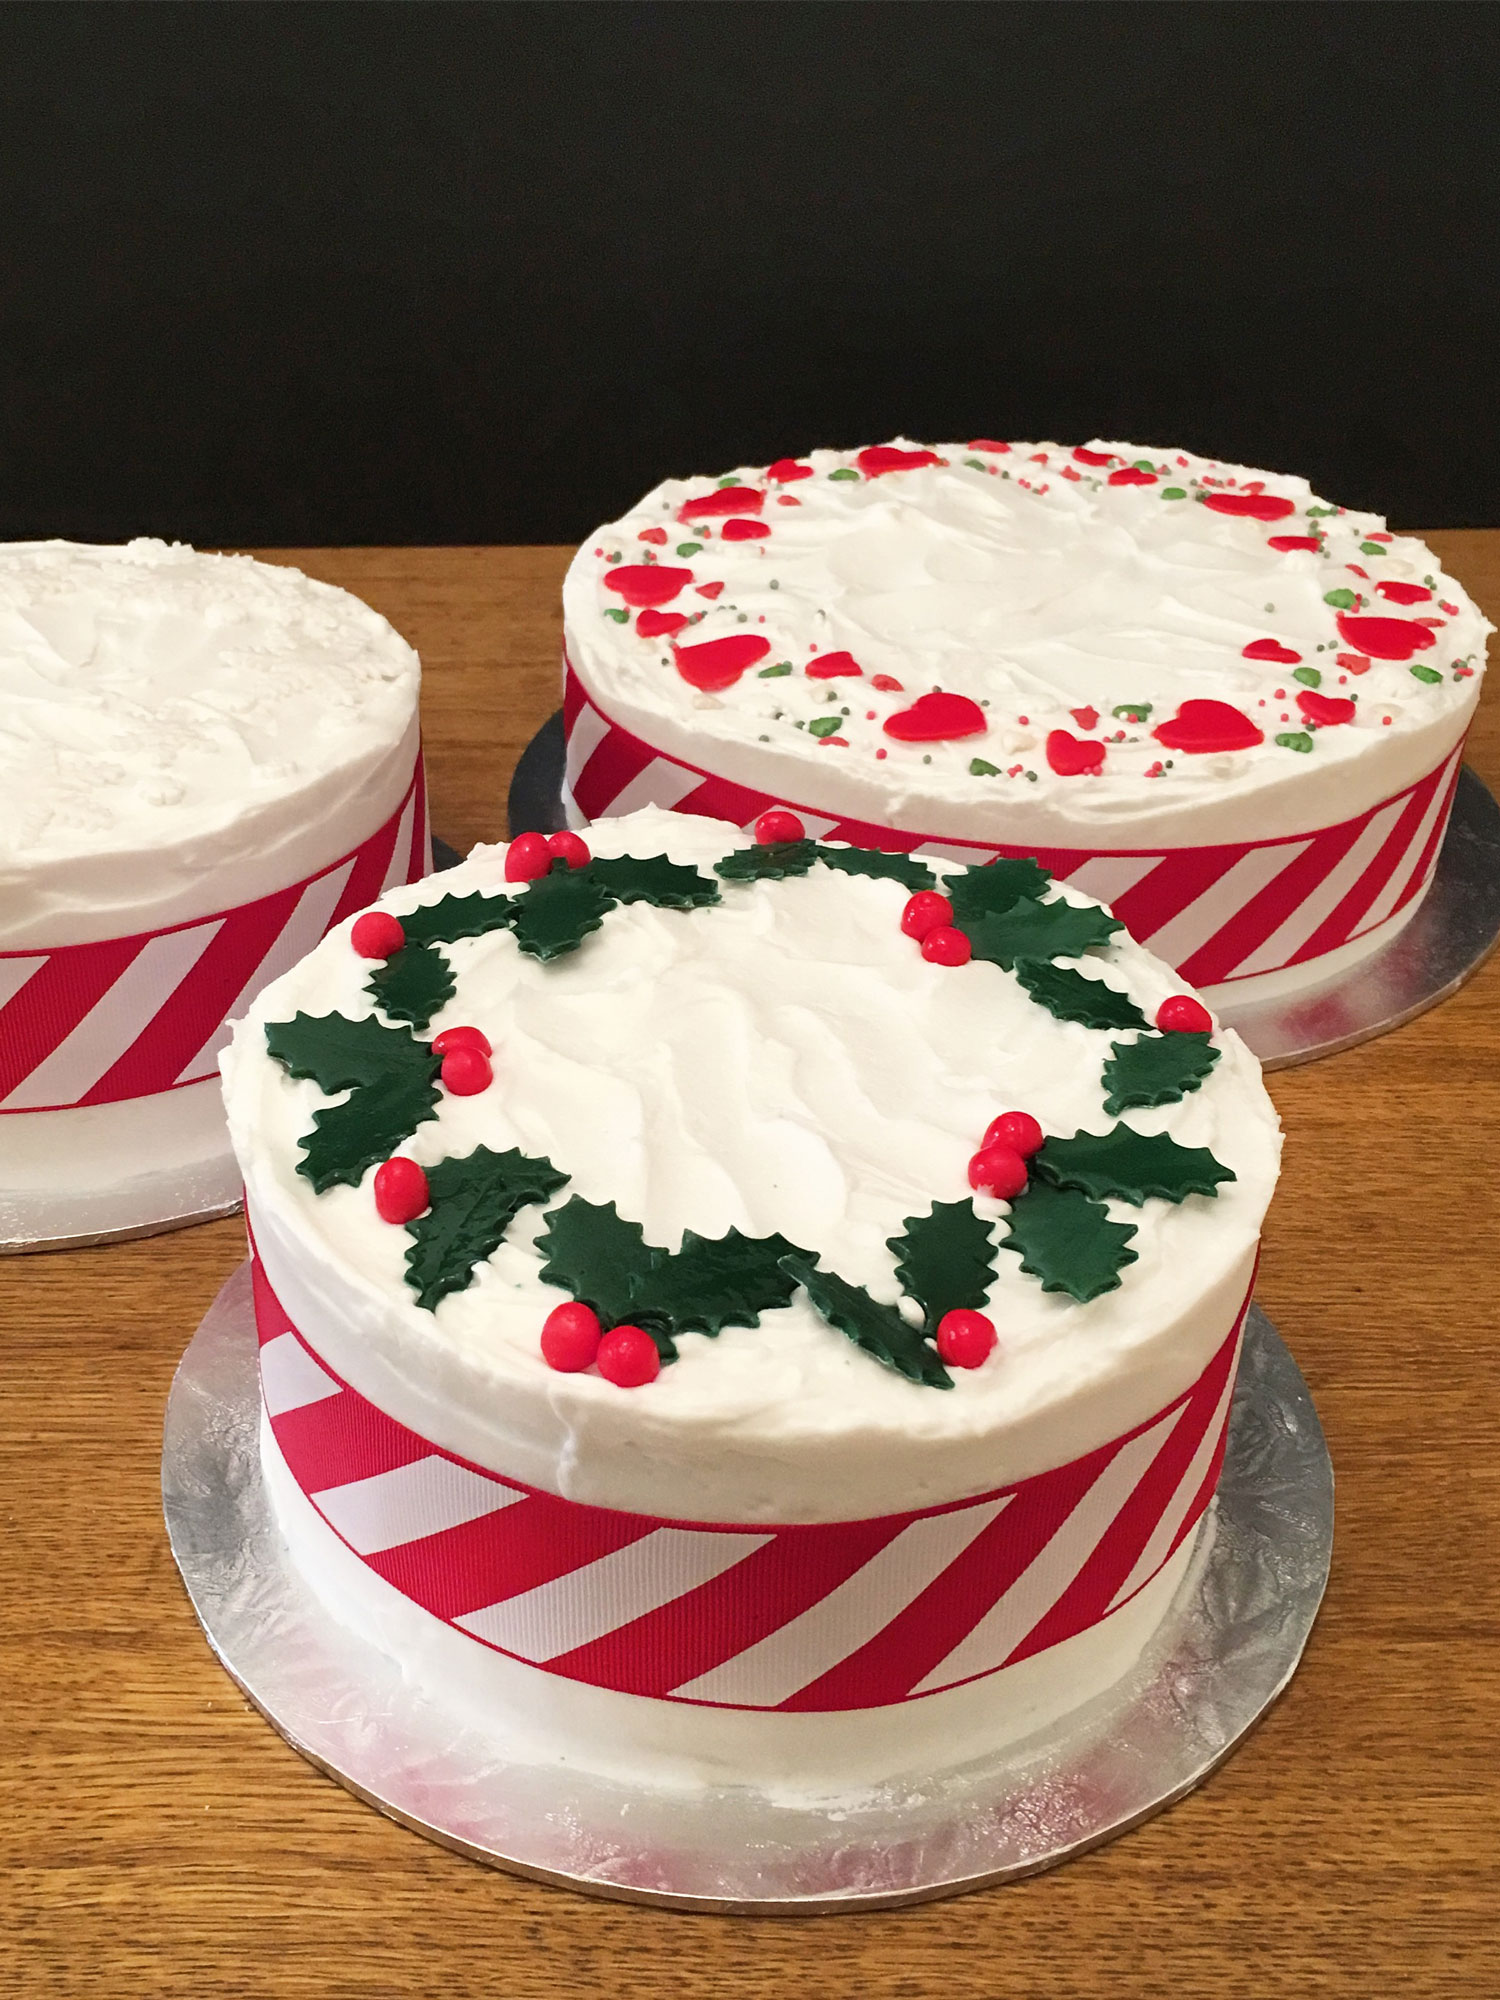
Despite the cake itself not being wholly traditional, I do still cover it with marzipan and homemade royal icing – it’s just not the same cutting into a fondant-covered cake at this time of yet. As you’ll see from the picture, I’m not the best in the world at icing, but the haphazard snowy peaks and swirls are somehow part of the charm… and trust me, some tasteful ribbon hides a multitude of sins!

Print Recipe

Light Cherry Christmas Cake

  • Prep time: 3 hours
  • Cook time: 2 hours
  • Servings: enough for 10-12 large slices

Ingredients

For the cake

  • 150 g currants
  • 150 g sultanas
  • 75 g dried sour cherries
  • 75 g dried cranberries
  • 25 g dried apricots
  • 200 g glace cherries, quartered
  • 100 g chopped mixed citrus peel
  • 3 tbsp whisky or brandy
  • 250 g soft butter
  • 200 g light muscovado sugar
  • 85 g pecan buts, chopped
  • 0.5 tsp freshly grated nutmeg
  • 1.5 tsp ground cinnamon

For the decoration

  • 3 tbsp apricot jam or glaze
  • 1 kg white marzipan
  • Icing sugar for dusting

For the royal icing

  • 3 egg whites
  • 650 g icing sugar, sifted
  • 1.5 tsp glycerine, if you prefer a slightly softer set icing
  • Ribbon for sides of cake and your choice of decorations

Method

To make the cake

  • 1)

    The night before you plan to make the cake, combine the currants, sultanas, dried cherries, cranberries, apricots, glace cherries and chopped mixed peel in a large bowl.

  • 2)

    Add the whisky or brandy and mix well. Cover with cling film and leave to soak in a cool dry place overnight.

  • 3)

    Preheat the oven to 150°C / 300°F / Gas Mark 2 / Fan Oven 130°C. and grease and line a 9 inch (23cm) round loose-bottomed cake tin (it needs to be at least 3 inch / 8cm deep) with butter and baking parchment or greaseproof paper.

  • 4)

    Cream the butter and sugar together until light and fluffy.

  • 5)

    Add the eggs and a couple of spoonfuls of flour and beat until combined.

  • 6)

    Add the remaining flour and the nutmeg and cinnamon mix and beat until the mixture is thoroughly combined.

  • 7)

    Add the soaked fruit mixture and the chopped pecan nuts, and fold carefully until the fruit is evenly distributed.

  • 8)

    Spoon the mixture into the prepared tin and flatten the mixture with the back of a spoon before tapping it sharply on a worktop to settle the contents. Then make a smooth depression in the centre of the mixture to help it rise evenly.

  • 9)

    Bake in the oven for 1 hour, cover loosely with foil and bake for a further hour until an inserted skewer comes out clean. Leave to cool in the tin for 30 minutes before turning the cake out on to a wire rack with the paper on. When cold, remove the paper, rewrap in plastic film and keep in an airtight tin until you’re ready to decorate.

To cover the cake with marzipan

  • 1)

    Place the cake in the centre of an 11/12 inch (28-30cm) cake board or drum.

  • 2)

    Warm the apricot jam/glaze in the microwave or a saucepan until it’s syrupy and almost bubbling. Remove from the heat and brush the glaze evenly over the top and sides of the cake with a pastry brush.

  • 3)

    Knead the marzipan on a surface dusted with icing sugar until smooth and pliable. Cut the block into two slightly uneven sections. Dust your surface well with icing sugar.

  • 4)

    Take the smaller of the two sections, and roll out with an icing sugar-dusted rolling pin until approximately 5mm or just under 1⁄4 inch thick – it needs to around 10 inch (25cm) in diameter.

  • 5)

    Take the base of the cake tin used to bake the cake, and cut around it to produce a circle of marzipan. Stick this on the top of the cake and smooth with your hands from the centre outwards to remove any air bubbles.

  • 6)

    Dust your surface well with icing sugar again. Take the other section of marzipan and roll out with an icing sugar-dusted rolling pin until just under 1⁄4 inch (0.5cm) thick. You need a strip around 8 inch (20cm) wide by 16 inch (40cm) deep.

  • 7)

    Cut a straight line down the middle of the strip. Take one section and wrap around the cake sides, smoothing with your hands to stick it on. Cut the ends straight and repeat with the other strip. Press firmly at the ends to make a neat join.

  • 8)

    Trim the excess off from around the top, and press the edges of the top and sides together to form a neat edge all the way around.

  • 9)

    Leave the marzipan covered cake for a few days until it dries.

To make the royal icing

  • 1)

    Beat the egg whites in a clean, grease-free bowl until stiff and glossy.

  • 2)

    Add half the icing sugar, and beat until combined. Add the glycerine (if using) and the remaining sugar, and beat again the until the icing is smooth and thick. Depending on the size of your eggs, you may need to add more icing sugar, you’re looking for thick peaks that hold their own weight.

To ice the cake

  • 1)

    Fill a large jug with boiling water, and sit your palette knife in it.

  • 2)

    Place the cake and board on a turntable if you have one (if not an upturned saucer works almost as well!)

  • 3)

    Spoon a third of the icing on the top of the cake, and roughly smooth with the hot palette knife. Return the knife to the hot water.

  • 4)

    Using the palette knife, apply icing to the sides of the cakes, turning and smoothing as you go. Dip the knife in the hot water as often as necessary to keep it moving easily over the icing. You want an even coating, around 5mm or just under 1⁄4 inch thick – much more and you’ll struggle to cut the cake when set!

  • 5)

    Dip the palette knife in the water again, and either smooth the top of the cake or swirl into soft snowy peaks. Any unused icing will keep in an airtight container in the fridge for a few days and is perfect for icing gingerbread biscuits.

  • 6)

    Decorate however you fancy – go retro with 70s style plastic skiers and trees, or add silver balls and fondant icing snowflakes – the possibilities are endless! Don’t forget to add a strip of coloured ribbon around the sides of the cake, fixing each end with a dot of leftover icing.

  • 7)

    Leave to set for a few days until the icing is dry and firm to the touch… as long as you can resist!

Leave a comment

Your email address will not be published. Required fields are marked *

Previous Recipe Next Recipe